61
models were poured and marked to illustrate where the gingival
zenith should be, then sent to the laboratory for creation of a
wax-up to that mark. After the wax-up was returned, it was dupli-
cated to fabricate a surgical stent (i.e., thermal plastic matrix) that
was trimmed to the gingiva and used to mark the extent to which
the gingiva would be removed using a soft-tissue laser.
GINGIVAL CONTOURING
A cost-effective and user-friendly latex-free lip and cheek retractor
wasquicklyandeasilyplacedtoensureclearvisualizationof involved
teeth and gingival margins, as well as unencumbered access (e.g.,
OptraGate). Minor soft-tissue laser contouring was first performed
to the cervical area of tooth#8 (Fig. 2). The gingiva for the remaining
teeth #7 through #10 was also contoured using a soft-tissue laser to
create a muchmore esthetic height-to-width ratio (Fig. 3).
The patient was allowed to heal for three weeks (Fig. 4), after
which she returned for preparation and in-office CAD fabrication of
four veneers for teeth #7 through #10. The patient was anesthetized
with 4 percent articaine with 1:20000 epinephrine by infiltration.
The lower andmaxillary arches were scanned intraorally, along with
the stonemodel with the wax-up, while anesthesia was taking effect.
TOOTH PREPARATION
A lip and cheek retractor was placed (OptraGate) to facilitate
retraction during the procedure. Initial depth cuts were made
using the RW Max .5/.7/.9 bur (Bob Winter Restorative Design
Kit) (Fig. 5). This bur enabled excellent and proper reduction for
the anterior veneer restorations. The middle portion of the bur
was seated, after which it was rotated to engage the cervical area,
and then again for the incisal area, all while keeping the middle
reduction the same. This ensures adherence to guidelines for the
three reduction planes for an anterior restoration (Fig. 6).
An intraoral scan was then taken of the completed preparations
and surrounding gingiva prior to placing retraction cord. This was
then used for creating a Gingiva Mask folder in the CEREC design
software (Fig. 7). This would enable the original position of the
gingiva to be referenced following digital restoration design.
The tissue was then retracted with a two cord technique, and
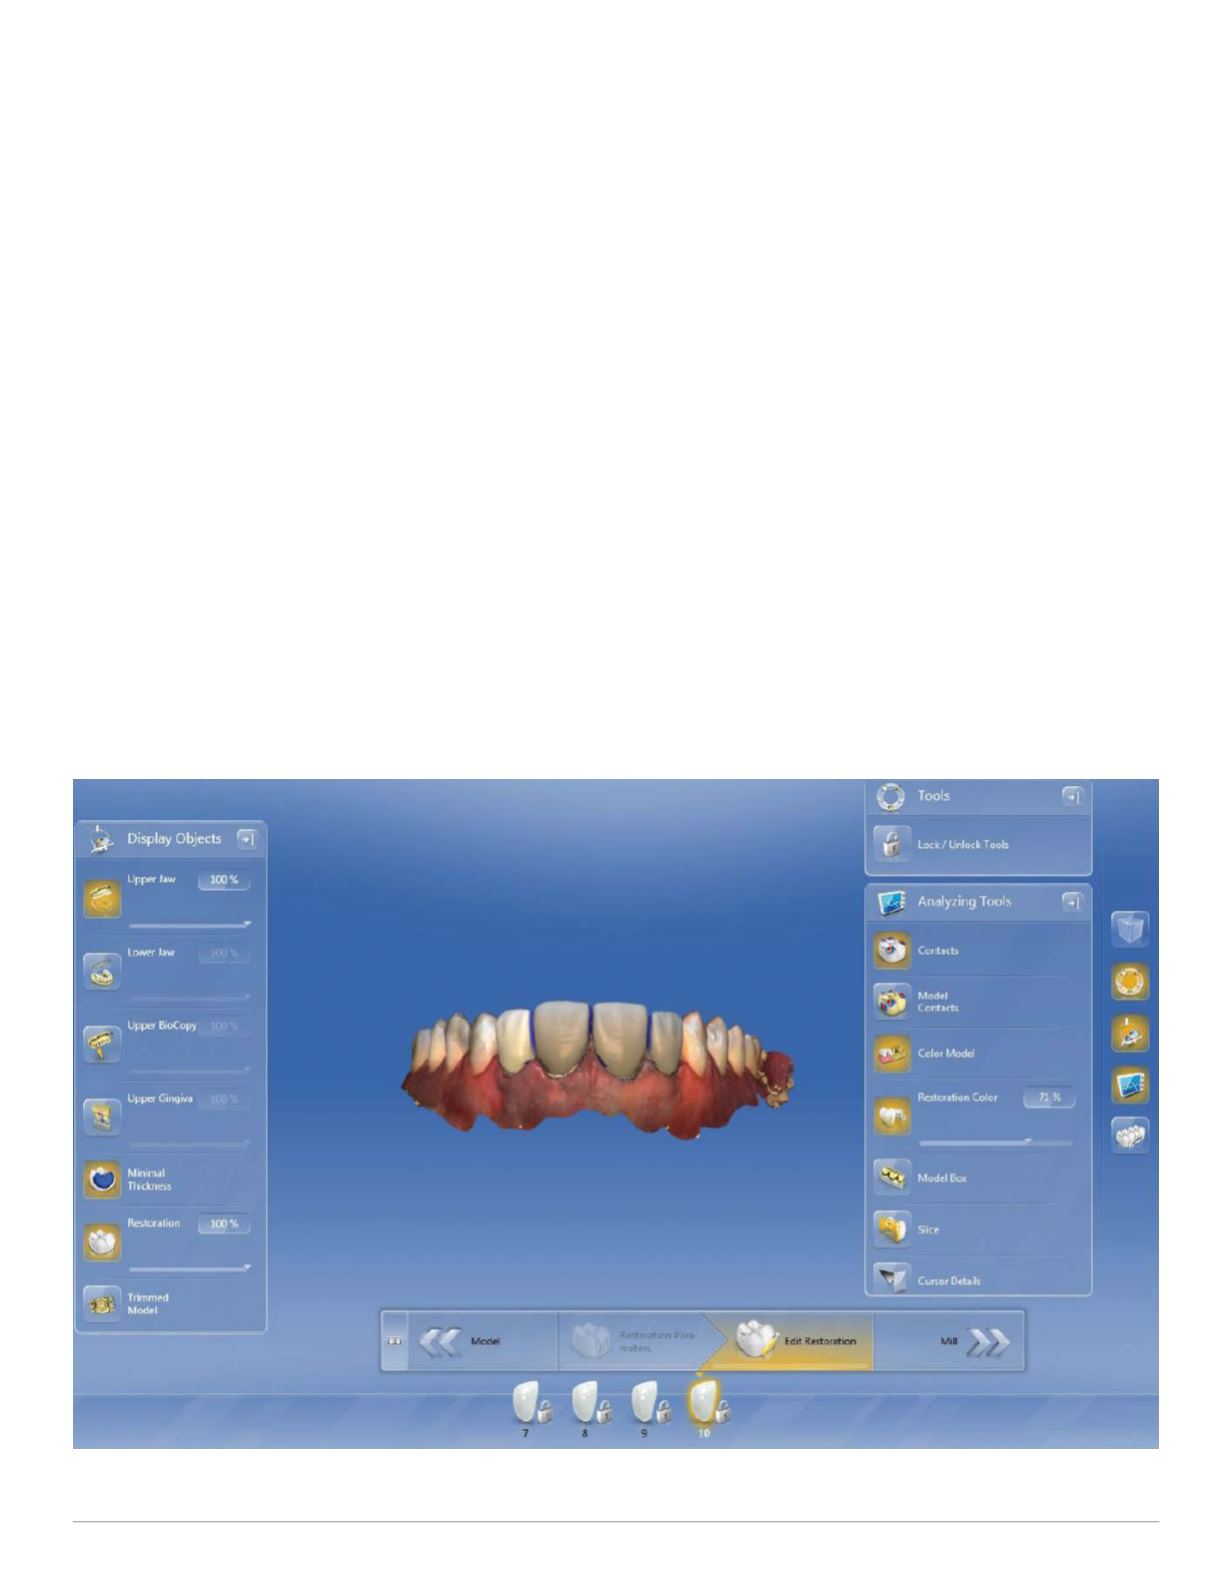
Fig. 10: Incisal Variation tool effects can be layered to establish both gingival texture and incisal developmental grooves


